Wednesday, April 11, 2012

Sick!

I, unfortunately, came down with a nasty cold this week.  It started with a bad sore throat on Easter,   followed by a fever and then all of the congestion of a typical cold.  And, despite being a bit uncomfortable at times, I am so happy!  Why, you may ask?  
Because of herbs and the powerful healers that they are.  And because of the knowledge that I now have of herbs which gives me confidence and power in the face of illness.


A hot cup  of sage tea with lemon and honey....delish and so powerful!
A dear friend is such an amazing herbalist, and I have been extremely blessed to have her share some of her knowledge with me.  In her herbal classes last year and through conversations with her throughout the year, I have learned so much about what is growing right outside my door and how to use these amazing gifts of Mother Nature.  I have also seen herbs heal my children and myself....safe, effective, perfectly balanced herbs.  
Which, of course, is the opposite of pharmaceuticals.  They are not safe, not always effective, and certainly not balanced.  
They may fix the immediate problem, but they often cause a whole host of other problems.

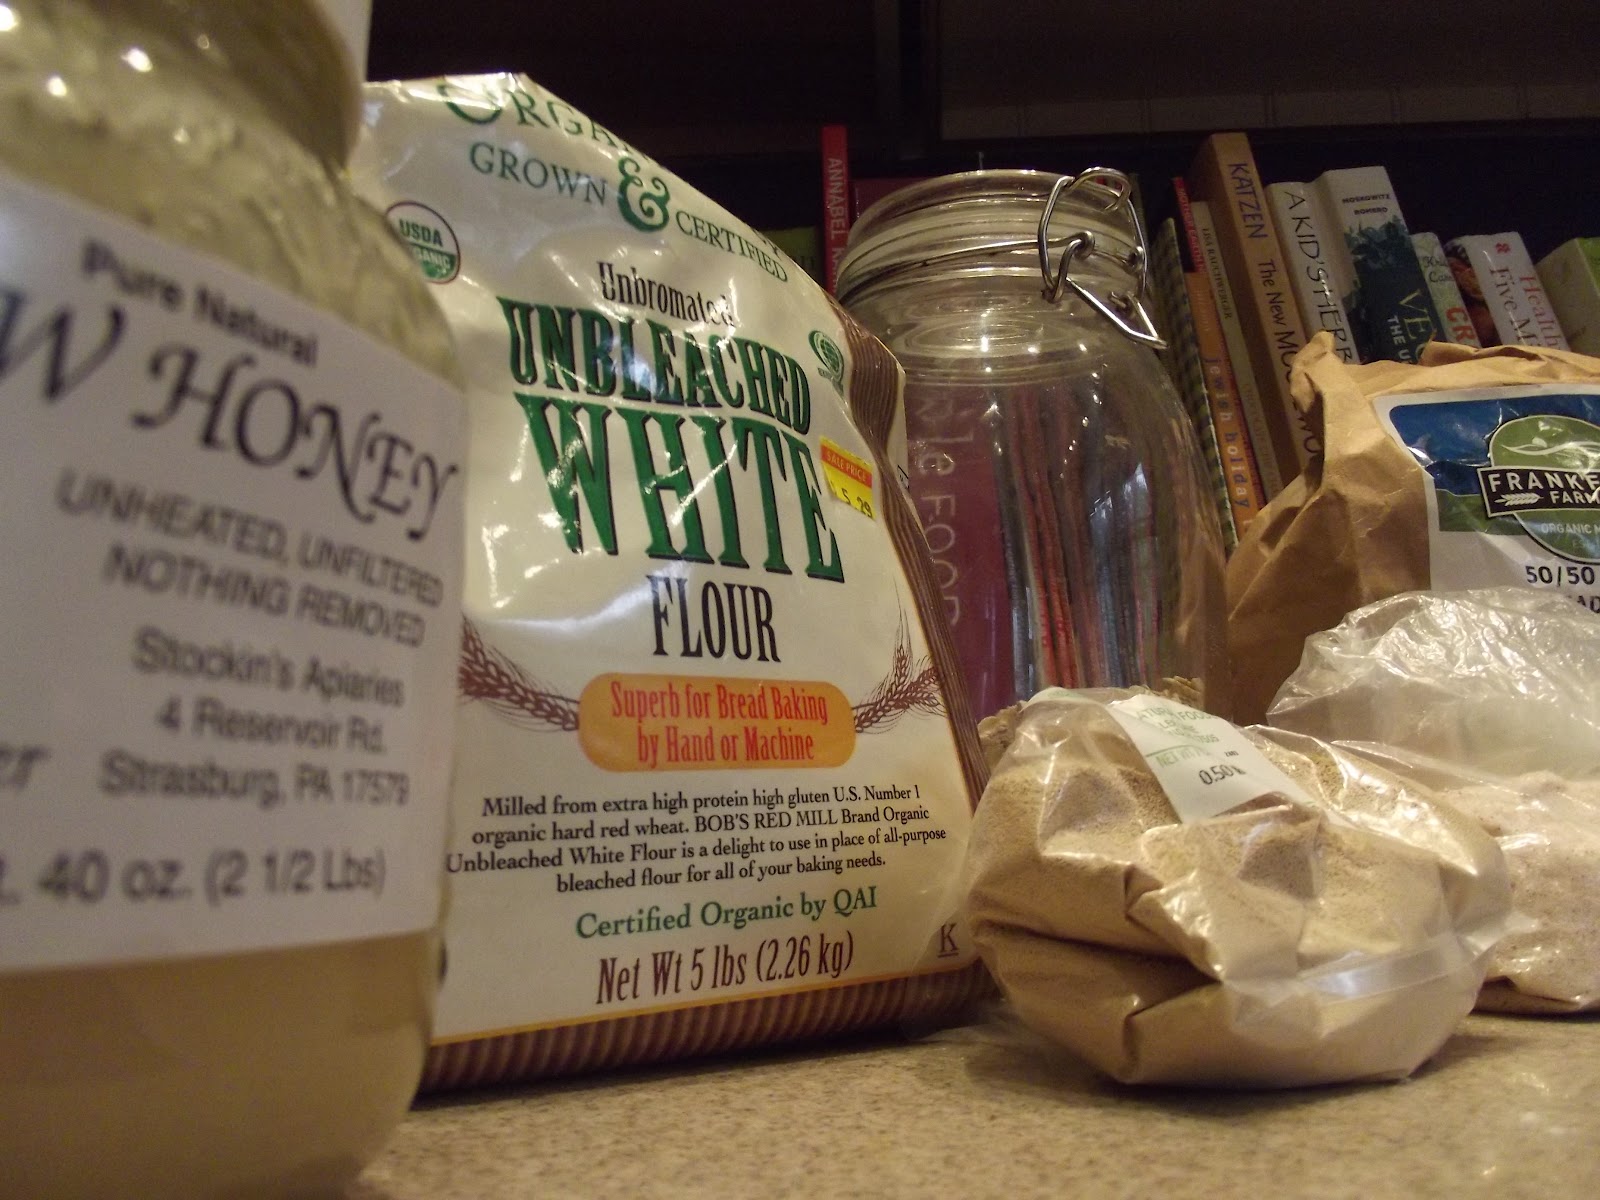
The AMAZING, powerful local raw honey.....I wouldn't "bee" without it!

Now, I am not against using medicine from a doctor if it is truly needed.  But, I have learned that most times, we can use herbs to treat what ails us.  And that brings me to my current cold.


 When I came down with the sore throat on Sunday evening, I immediately started gargling with sea salt in very warm water.  This is one of the simplest things to do for a sore throat and is usually quite effective.  As simple as this is, it is not something that I grew up doing or even knowing about.  In the past, I would have perhaps had a cup of tea and then seen a doctor if the problem continued to worsen.  Which would have undoubtedly led me to the use of antibiotics, whether I needed them or not.  But, thanks to April (and a nasty reaction to an antibiotic in the past), I now also know that sage is very effective at treating a sore throat.  So, throughout the day on Monday, I drank about a 1/2 cup of hot sage tea with raw honey mixed in every 1/2 hour or so.  I have learned that with herbs you need to continue to dose yourself throughout the day, versus traditional medicines that might only require one dose.  The benefit, of course, is that I only used sage, raw honey, and salt water to solve my sore throat.  All of these items were in my cupboard, they are all safe, and yummy too!   
By Monday night, I didn't have any sore throat.  Not at all.  Amazing!!!


April's recipe for sage tea.  I'm so thankful for her notes!

 Now all of this knowledge of herbs is fairly new to me, but people have been using herbs to heal themselves and their families for centuries, and in most parts of the world, they are still used as the primary means of fighting illness.  Here is another example of how we have gone too far in our advances of the 21st century.  Yes, it is wonderful to have medicine when we need it.  But, we have lost what our ancestors knew to be true...that it is the Earth and it's gifts that heal us best, not something out of a laboratory.  In the same way that vitamins out of a bottle are not going to make up for unhealthy eating habits, medicine out of a bottle cannot even come close to healing in the way that the real healing plants can do.  Medicine in it's natural, whole form is just as important as food in it's whole, natural form.

Making tea....

 I truly believe that eating healthy foods keeps our immune systems strong and keeps us well most of the time.  But we are all exposed to germs, and we all get colds and other minor illnesses from time to time.  I am so grateful that I now know what to do for these situations.  And, if I don't know which herb to use, I definitely know who to call.  
"April, I have an herb question....." is how many of our conversations begin. :)
  Thanks, April, for helping me down this path and for always answering my questions.  
We are all grateful! :)

Sunday, April 8, 2012

I Love Tofu!

I think that when people think of vegetarians, they think of tofu....and they think, "Yuck!"  
Well, I understand.  Badly prepared tofu can be really gross.  I should know.  About 10 years ago, I bought tofu at the grocery store for the first time. I had no idea what to do with it, so I opened the package and threw  it on the grill.  
Anything is good on a grill, right?  Wrong!
Well, let's just say that it was never eaten.  The texture was gross, there was no taste...totally inedible!  


Fast forward about 5 years.  After reading up on how to prepare tofu, I thought we should try again.  And......jackpot!  
We LOVE tofu!  Truly love it!  And, it is one of the only dinner foods that my whole family will eat.  In fact, I've gone from preparing one package of tofu to three packages of it for our dinner....and I never have leftovers.  
I don't think that eating soy products is good for everyday, but once or even twice a week seems fine to me.  Look, if the alternative is this, then I think we're doing fine with tofu!

So, the key to good tofu is how you prepare it.  And, the first step is to get all of the water out of the tofu.  I would love to purchase a tofu press in the future, but for now, jars of beans work just fine!


So, wrap your blocks of tofu in clean towels, put the wrapped tofu between two plates, and put something heavy on top....jars of beans, cookbooks, heavy pots, etc.  Just be careful to balance it well or you get the leaning tower of beans which sometimes falls over! 
(What was that CRASH in the kitchen???)

Let the tofu sit for at least a half hour and then flip it over and let the other side have a go!


Your pressed tofu should be much drier than when it began (and your towels should be a whole lot wetter) and it should be a bit flatter.  Now, slice it all up.  I prefer to make little cubes of tofu, but some people like to cook it in larger pieces.  
It'll all taste great in the end!


 Now, after the tofu is all cut up nice, you have the option of marinating it.  Plain tofu tastes just like....well, plain tofu.  That is to say it really has no taste.  I used to love to marinate my tofu in whatever sauce I had on hand.  However, my favorite thing to do these days, is just to cook it up in the oven right away.  I put a small bit of olive oil on it and sprinkle on some salt and pepper.  That's it.


After baking it in the oven for about a half hour to 45 minutes (really, just bake until golden brown, perhaps flipping once), it is so good!  I have many little people begging for a piece about now.

  It is so yummy dipped in ketchup or honey.  Or just plain.  Sometimes I will put these super delish cubes in tortillas with lettuce and tomatoes and dressing.  Or I will serve them alongside rice.  My new favorite way is in a yummy, Asian-inspired pasta dish.  But I will bring that recipe to you next time.  For now, experiment with tofu.  After you figure it out, it is an easy, delicious way to bring good protein to a vegan/vegetarian diet.


 Enjoy!

-Vegan Mama


Sunday, April 1, 2012

Easy, Yummy Bread!

I have been baking my own bread for awhile now.  And, honestly, it is not hard.  It really and truly isn't.  
I started with a bread machine, but now I just do it by hand.  
My favorite book, by far, about bread baking is Healthy Bread in Five Minutes a Day.  
Definitely recommend this to anyone who would like to bake bread but is afraid to try it.

But when I'm in a rush and need a quick bread to bring to a potluck or when the kids are just begging for bread for breakfast, I always go to the recipe for oatmeal bread that I originally saw here.  
It is so easy that I know the recipe by heart.   Love that!  So, here it is:

Gather your ingredients:  Active yeast, Salt, Oats, Honey, White Flour, Wheat Flour.  That's it!  Take a look at the typical bread that stores sell, and you'll be sure to find additional ingredients, most that you can't pronounce and that you certaintly don't want to put in your body.  
(As a side note, when I do buy bread, I buy this brand.  Good stuff!).


Put a large spoonful of active dry yeast into a small bowl and add a big glop of honey (really, no need to measure this precisely....I promise it will turn out yummy!).


Add some very warm water (not too hot) to the yeast/honey mixture.  The actual temperature of water should be 105 degrees - 115 degrees F. to proof your yeast (or see if it is still active).  However, I make so much bread that I never test the temperature with a thermometer, and I've never had a problem.  The water should be pretty hot to the touch but not so hot that you can't put your finger into it.  If you are new to using yeast, I would recommend using a thermometer the first few times until you get a feel for what you are doing.

Mix it all up gently.

Put your bowl in a warm spot to let the yeast activate.  In a few minutes, you should see the mixture start to puff up and bubble...amazing and always fun to watch!


While all of this wonderful kitchen science is going on, you can get your dry ingredients measured out.
In a large bowl, measure 1 cup of oats, 1 cup of white flour, and 1 cup of wheat flour.  Add 1 1/2 tsp. of salt and mix it all up.


Have a sip of smoothie!  Yum!


After your yeasty mixture has poofed up a bit (maybe 10 minutes or so), add it to your dry ingredients and mix it up.  Add enough warm water to make a dough.  The dough should be on the wet side, as far as bread dough goes.  


Now, smear some Earth Balance in a loaf pan so that your bread won't stick or use a non-stick spray.  And spoon your dough into the loaf pan.
I then like to sprinkle the loaf with additional oats, just because it looks pretty!


 And pop your loaf in a warm oven (put it on for a few minutes and then turn it off).  Let your bread rise for 30 minutes.  Then set your oven at 350 degrees F. and let the bread bake for about 30 minutes or until golden brown.  That's one hour from rising to finished bread.  So simple and quick!


After 30 minutes, put the loaf pan on a cooling rack to cool for a few minutes.
Then pop the bread out of the pan and let cool completely.
Look at how beautiful!  And, trust me, the taste will not disappoint!


That's it!  I can make this bread in under 2 hours from the beginning to the yummy end.  
And, if you have a bunch of bread lovers, as I do, you can easily double this recipe and make two loaves at a time.  If you have leftovers (doubtful), then you can freeze the completely cooled bread, and it will be just as yummy and fresh when you defrost it.

You can slice and serve this anyway you like.  But, if my children had to recommend a favorite way, it would be slathered in Earth Balance and yummy raw honey.  So good!

So, what are you waiting for?  Get baking!

Saturday, March 24, 2012

Homemade Laundry Soap Rocks!

Caring about my family's health goes beyond what we put into our mouths.  It matters what paint we use, what we clean with, what we put on our skin, etc......  About a year ago, I discovered how easy, affordable, and healthier it is to make my own laundry powder.  Prior to this, we were buying one of the natural (read "expensive") brands and going through it quite quickly with a family of 6.  
This recipe is so incredibly easy, and it works!  
At first, my husband was a skeptic and separated out his clothes to wash in a typical laundry detergent made from chemicals and smelling so strong like chemical fragrance.  Yuck!  
Well, after trying it out, he is convinced too that it is best....and it even works on stinky man clothes....even after a day of working in the yard!

I first discovered the recipe on my friend Lisa's blog :  http://www.earthmama101.com/2010/12/homemade-holiday-part-i.html.  I use her exact recipe, and it works great everytime!

1.  Gather your ingredients:  baking soda, washing soda, borax, and soap bars.  I use Dr. Bronner's castille soap because that is what we use anyways, and it is great stuff.!  We buy the peppermint scent at Trader Joes for a very good price, but they also make many other lovely smells, such as rose and lavender.  


2.  Grate 2 bars of Dr. Bronner's soap.


 I love the way the grated soap looks and feels!


 3.  To the 2 bars of grated soap, add 2 cups of borax, 2 cups of baking soda, and 2 cups of washing soda. All of these ingredients can be found inexpensively at your local grocery store.

4.  I then put all of the ingredients through the dry container of my Vitamix blender to create a powder.

Some pieces of soap will remain, but most of it will be a fine powder.


That's it!  So simple and cheap and fun to make! This recipe makes enough to fill 2 plastic quart yogurt containers.  For our high efficiency washer, I use 2 tbsp. per load, and it lasts at least a month.  

Better for the Earth, better for our bodies......good stuff!  Try it.  I think you'll be pleased!

Tuesday, March 20, 2012

Ode to Dandelions!

I love Springtime!  I love the warm weather, the beautiful colors, the fragrant blossoms, the longer days, the free food growing all over my yard....
dandelions, garlic mustard, chickweed, oh my!
Beautiful daffodil picture courtesy of my beautiful camera girl!

But, there are things that I hate too.  It makes me FURIOUS to see people outside spraying what grows naturally in their yard.  I actually started crying yesterday (ok...I was a bit tired too) when I saw a man outside with his spray of cancer-causing dandelion-killing stuff.  What are people thinking???  Cancer rates are higher than ever, and I know that this is one reason.  You can't spray harmful chemicals in your yard and not have dire consequences to ALL living things.  If they are meant to kill weeds, then they are meant to kill.....period.  
If you are currently using harmful chemicals in your yard to kill "weeds," please take a moment to think about this choice.  A beautiful yard does not have to include a golf course lawn.  Or, if you want a perfect lawn, then you can use organic and natural ways.  Check out Mike Mcgrath if you need help changing your ways.

We are so lucky to live in a house that is buffered by trees on most sides.  Our only neighbors care about the Earth and the humans that occupy it and don't use any chemicals.  However, my parents' neighborhood is another story.  When we lived there a few years ago, I had to give up my morning walk due to the toxic smells that were coming from the "perfect" lawns of their neighbors.  One neighbor, who pays a company to come and spray her yard with chemicals, wondered aloud to me why so many of her friends have cancer.  Really?  Another neighbor and old childhood friend of mine has the same company spray their yard, and then her children go out and play in the same grass.  I know that she loves her children, so why would she take this risk all for a green lawn?  It is absolutely incomprehensible to me.

Please, for the sake of humankind, let the weeds grow or pick them if you don't like them.  Many of them are super nutritious, real powerhouses that have been eaten for thousands of years.
And the dandelion tops the list!
Dandelion leaves emerging...beautiful yellow flowers to come.

Here is an article about some of it's virtues:  http://motherloveblog.com/2011/07/12/eat-your-dandelions/.  I harvest the leaves and flowers starting now and continuing all summer.  I add them to smoothies and even make a pesto with them.  In fact, my son Ben has said to me, "I only like smoothie with dandelion!"

I was about to post a recipe for my wild green pesto, but then I remembered that my good friend, April, had posted one awhile back.  I checked her recipe, and it is exactly the same as mine.
Here is a link to her wonderful recipe:
 http://flowoflove.blogspot.com/search/label/pesto
You can use any spring greens that you can find growing in your yard...just make sure that they have been grown in a chemical-free area and away from the road.

Here is what I did:
First, I found some beautiful wild greens during a lovely morning walk through my yard.
This is Archangel.  April did a beautiful post about this wild Spring green here.

The amazing dandelion!

Cleavers.  More about that amazing wild here here.

Beautiful bowl of dandelion, archangel, chickweed, and cleavers.

I got a turn with the camera, while Amelia picked some Archangel.

I just love how she set up this photo!

Wash the greens gently.


Put the greens into the blender with a clove of chopped garlic (or garlic mustard, if you have some growing WILD).


Add some of these beauties....raw walnuts, nutritional yeast, olive oil, salt and pepper.


A yummy, healthy bowl of Spring greens pesto.

I had some right away with some cucs and broccoli for dipping.  Yum!

A healthy dose of Spring nutrients, free and fresh from your yard with every bite!
Eat your weeds!

Monday, March 19, 2012

Yummy Maple Granola!

My kids love granola for breakfast.....or lunch.....or really anytime!  Buying it is expensive, and some of the ingredients may be questionable.  After all, how does it stay on that grocery shelf for months and not go bad?  HUH???  

This is what should be in granola....all natural, organic ingredients.


My favorite granola recipe comes from the cookbook Food to Live By  by Myra Goodman who is one of the owners of "Earthbound Farm."  I should first say that I am a lover of cookbooks.  I just love them!  This is a beautiful book that I bought for my brother and sister-in-law.  Let's just say that it never made it into their hands.  When it arrived at my house, I looked through the gorgeous color photos, the fun family and food stories, and the yummy recipes, and I knew that this would be a book for me!  Now it graces my bookshelf, and I use it often.  The recipes are not all vegetarian/vegan, but there are so many that I have adapted to fit with our family's needs.

Myra's recipe for "Maple Almond Granola" has been adapted by me to exclude the almonds and include pumpkin seeds.  The truth is that you can take this general recipe and make it anything you want!  There are times that I add candied ginger pieces, dates, different seeds, coconut, etc.  You can also add your favorite nuts.  My nut-allergic son is CRAZY about granola, so they never make an appearance in mine.

Maple Granola (adapted from Myra Goodman's "Famous Maple Almond Granola")

Preheat oven to 325 degrees.  On a large cooking sheet, measure out 4 1/2 cups rolled oats, 3/4 cup raw sunflower seeds, 1/4 cup raw pumpkin seeds, and 2 tbsp. cinnamon.  Stir it up.

The oats, sunflower seeds, and cinnamon ready to be mixed up.
 Next, add 1 1/2 cup maple syrup and 1/3 cup oil and stir until all ingredients are mixed well and wet.  I LOVE this part!  There is something so satisfying about mixing it up, almost like playing with wet sand at the beach.  

Spread out your granola on the cookie sheet and bake for 25 minutes.  Then take it out and stir it up.  Bake for another 15-20 minutes until dry and golden brown.  Mix it up one time during this last baking so that it doesn't burn and it evenly cooks.  


Mixin' it up!


After you remove it from the oven, stir in 1 cup of raisins and let the whole pan cool on a cooling rack.   After it is completely cool, I store in mason jars in the freezer.  It makes a lot!  It will keep for quite a while this way, though my kids usually eat it up before it could possibly spoil.

The finished granola cooling on the counter and smelling SO GOOD!

Besides eating this plain or with milk, we enjoy it on top of yogurt or ice-cream.  It is great mixed in with banana "ice-cream!"
But, my son, Ben's, favorite way to eat this is ......

Granola Balls
Put a few spoonfuls of granola in a bowl and add a heaping spoonful of sunflower seed butter (or your favorite nut/seed butter).  Mix it up well and form into balls or just eat it up with a spoon.  If you form balls,  leave them in the fridge for a bit to solidify, if you can wait.  Ben does not; he eats them as fast as I can make them!


Mixing the sunflower seed butter into the granola.


Anyway you make it, granola is a fast, easy way to make a healthy breakfast for your children.  Add some fruit or a smoothie and that's all, folks!

Saturday, March 17, 2012

Fast Food!


My children have never been to McDonalds....well, except my oldest two....once.  When my youngest were REALLY young and I was completely overwhelmed (4 children.. ages 2 and under!), my dad took my older girls to get ice-cream through the McDonalds' drive-through.
For years after that, they would point to the "Golden Arches" and say, "Ice-cream!"
I would laugh to myself and let them think that McDonalds was indeed an ice-cream store.

Fast forward 7 years.  My children who are now 10, 10, 7, and 7 love to watch "The Cartoon Network."  Batman, Ninjago, Clone Wars...you get the idea.  And, unlike PBS, which used to be THE channel around here, there are commercials.  They are all kid oriented (of course), and my kids like to laugh at them, especially the one for McDonalds.  Because they now know what McDonalds is.....and what it isn't.  They joke that the children are eating "pesticide apples" (their words) and looking so happy about it.  They joke that our dentist (our dentist!) offered the kids McDonalds' coupons at Halloween time, and then when we told him that we are vegetarians and don't eat there, he said that they have apple juice and apples.
He was trying to be nice......but what the heck?!?  Would I really choose to take my kids to McDonalds to get apples???  Really?!?


Today in the car, one of my youngest, Leah, said that she made up a new jingle, like the one for McDonalds, only with new words:
"Smoooothie moves, Dairy free food....." (sung to her own, unique tune)
Loved this and just had to share.  I'm glad that my kids are starting to understand how certain popular things in American life are not ok and that we choose differently in our family.  I'm proud of them for understanding these choices and hope that they continue to make wise food choices in their futures.

So, what do we do when we need some "fast food?"  We stop at our local natural food store, of course!  Hummus and a bag of tortilla chips, along with some fruit, is fast, easy, healthy, and delicious!

I'll leave you with our version of a "Happy Meal."  There are no toys included, but lots of smiles and laughter come for free.


Thursday, March 15, 2012

Juicy Juice

We really don't drink a lot of juice.  I think that it is viewed as a healthy choice for our children, but I absolutely disagree.  Fruit, in it's whole state, is full of fiber and nutrients.  But once you remove the fibrous parts of the fruit, you are left with sugar, even if it did come from something healthy.  Apple juice, which seems to be the favorite "kid" juice, really gets me because it has no significant nutritonal value and could even be likened to drinking soda.  A little extreme, I know, but I'm just not a fan of commercial juice for everyday consumption.
Juicing your own fruits and veggies, however, can be fun and nutritious!

When my children have juice (besides at a restaurant or party), it's because I made it.  I love to mix veggies with fruit, especially citrus, to create a yummy, healthy drink for them. The sweet fruit juice makes the bolder tastes of the veggies more palatable to children, and it gives them a burst of nutrition and energy to start their day!

Beautiful oranges and grapefruits ready to be juiced.

Love this close-up that Amelia took of the fruits.

Today's smoothie combination is citrus combined with carrots.  I often add spinach too, but I was out of it today.

Here is my juicing set-up.  I'm using my husband's "Grumpy" cup to catch our sunshiny juice.  :)


Look at that beautiful color....so full of vitamins and nutrition.  


A cup full of sunshine!


If you haven't tried juicing, give it a whirl.  It is easy and delicious and nutritious....my favorite combination!